The Data Services Builder is our simplified approach to defining and testing and managing DV/Teiid data services via a web application running on your server.
This kit utilizes the Data Services Builder web interface, backed by the Teiid Runtime. This quickstart shows how to:
- Configure a Data Source for an existing deployed JDBC source
- Create and Test a new Data Service
... all with just a few clicks.....
Note: an alternative installation method using Docker containers is described in this article. Install and execute the 'dsbuilder-mysql-with-test-data' container then skip both steps 1 and 2, below.
1) Download the zip
- http://download.jboss.org/teiid/web/dsbuilder/DataServiceBuilder-14Aug2017.zip
- Extract to your filesystem location <installDir>
- The installable zip contains:
- Teiid 8.12.4 (which includes Red Hat JBoss EAP 6.4.0.Alpha1)
- Data Services Builder ear
- Teiid Server is pre-configured with the following credentials which will be needed in Steps 3) and 5) below as well as testing your data service OData endpoint.
- username: dsbUser
- password: 1demo-user1
NOTE: The Data Services Builder currently requires Java 1.8
2) Start the Server
- execute the following in the <installDir>/teiid-8.12.4/bin
- $ ./standalone.sh -c standalone-teiid.xml
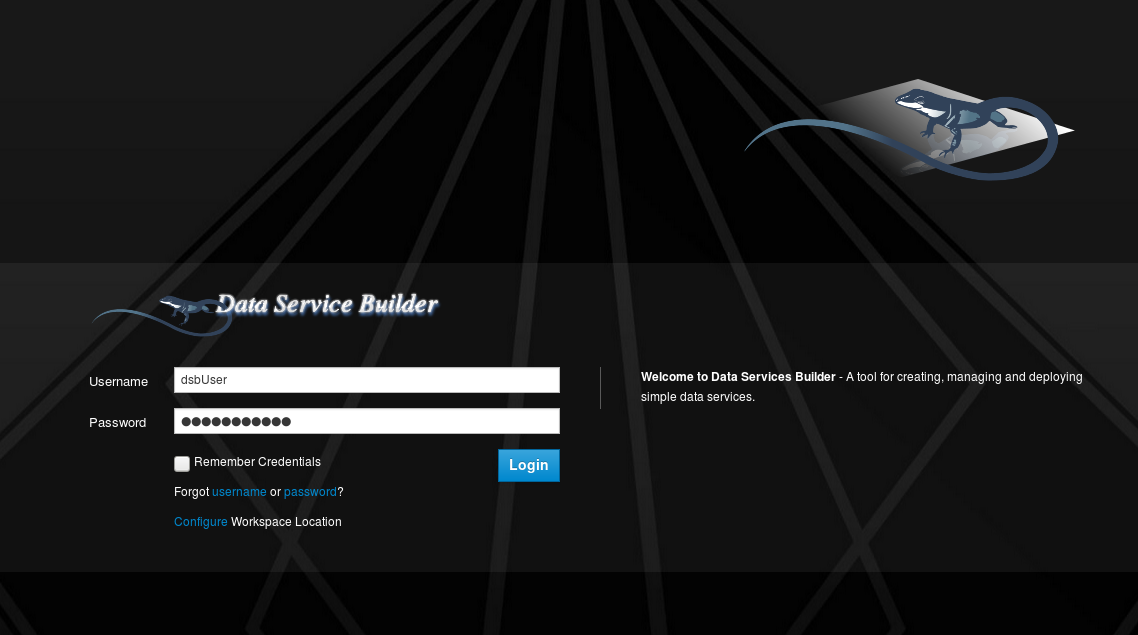
3) Access the Data Service Builder at: https://localhost:8443/ds-builder
- enter User Name = dsbUser and Password = 1demo-user1 to login
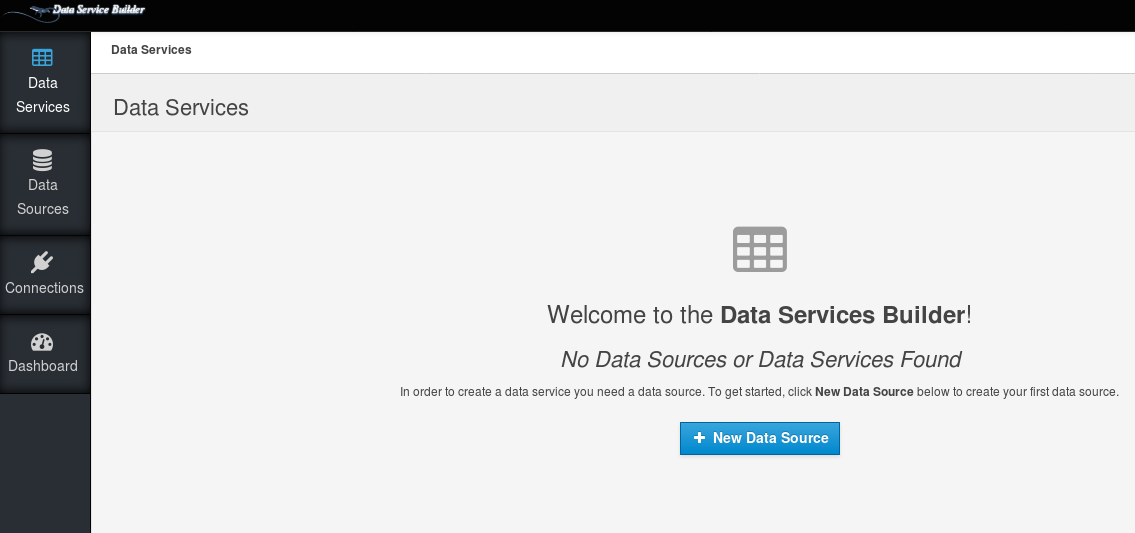
4) Data Services Summary page
Upon entering the Data Service Builder for the first time, you will see a page like this:
5) Set JDBC Credentials
- Before going further, click the Preferences icon (gear) to set your Teiid JDBC credentials.
![]()
- On the preferences page, select Teiid Settings, then enter JDBC User Name = dsbUser and Password = 1demo-user1
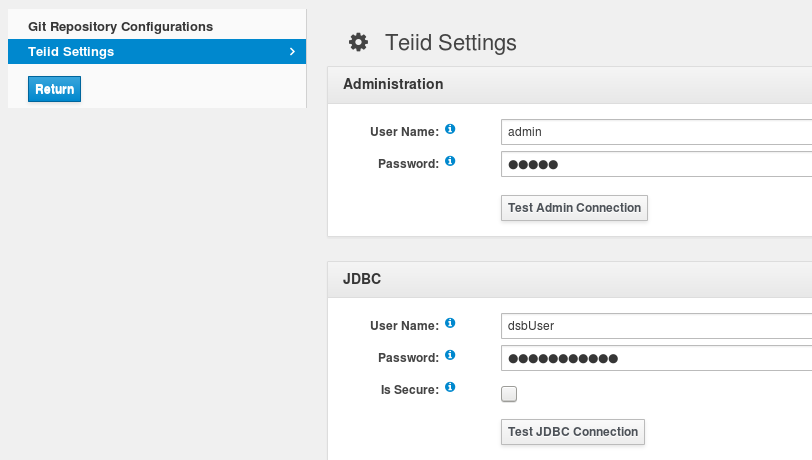
- Click 'Test JDBC Connection' to verify the credentials
- Click 'Return' to return to the Data Services summary page
6) Create a Data Source
- Back on the Data Service Summary page, click the "New Data Source" button to open the New Data Source page.
- Enter a Name for your Data Source and an optional description.
- Click on a Connection in the Connections list.
- NOTE: One H2 database connection (AccountsH2) is provided with the installation. If you would like to add a new JDBC source, see Step 7 (Optional).
- A Translator corresponding to the selected connection will be shown. You can change the translator if you wish.
- By default, Filter Connection will be unchecked. This will allow the Data Source to include all exposed schema in the database or catalog.
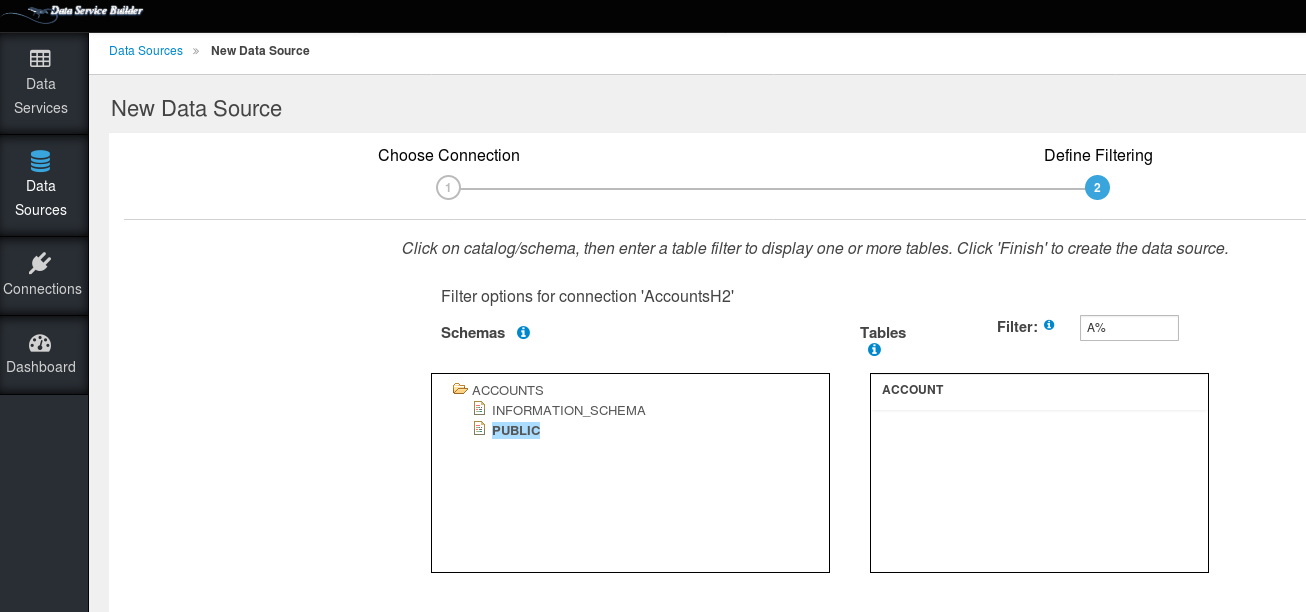
- For this example, check Filter Connection, which will allow you to filter and expose just a part of the schema.

- When Filter Connection is checked, you will be presented with a second wizard step. Click Next.
- Select a schema to see the list of available tables in the right panel. You can further filter the exposed tables by entering a filter in the Filter box.
- When complete, click Finish to create the Data Source.
7) Manage Connections (Optional)
- You can add more JDBC connections, if desired.
- Click on Connections on the left navigation menu:
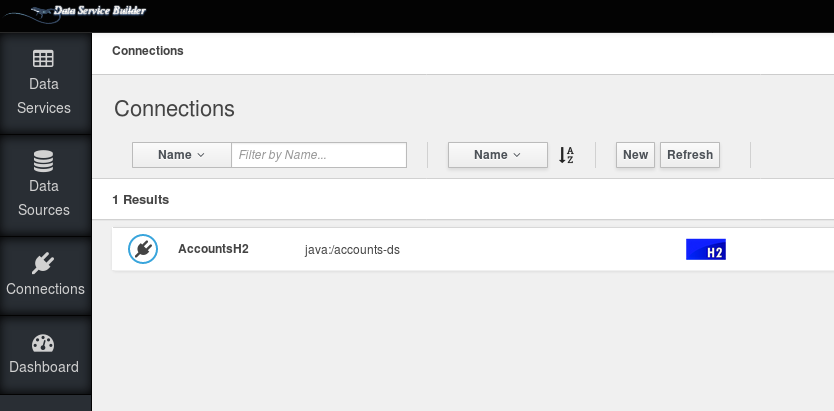
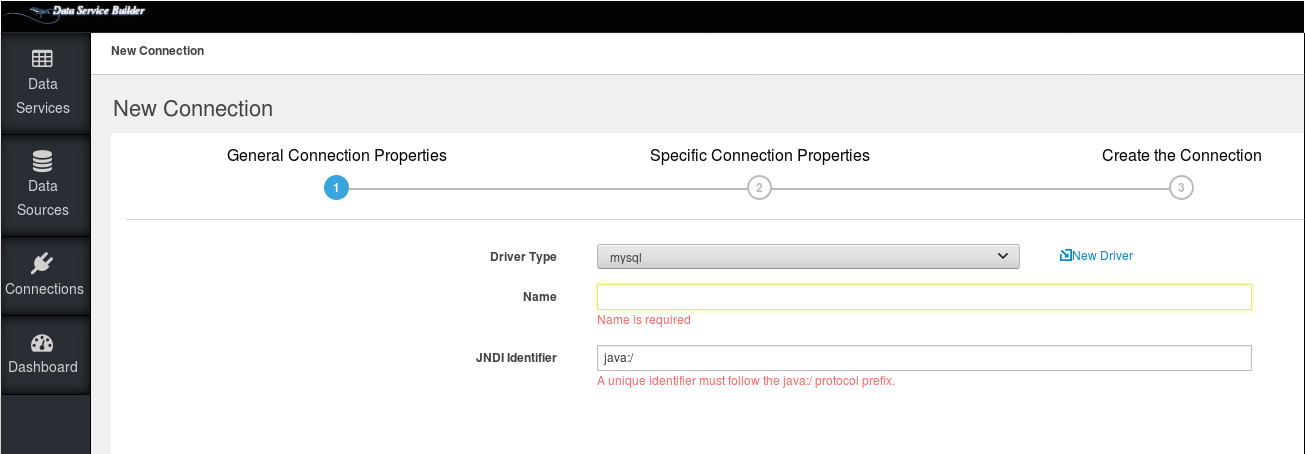
- To add a Connection, click on the New button.
- The available Driver Types are shown. To add a new JDBC Type 4 driver, click New Driver.
- Enter a Name for your Connection.
- Enter a unique JNDI Identifier for your Connection.
- Follow the wizard pages to enter specific properties for your connection. Click Finish to add the Connection.
8) Create a Data Service
- Now you can create a Data Service to consume the Data Source you just created.
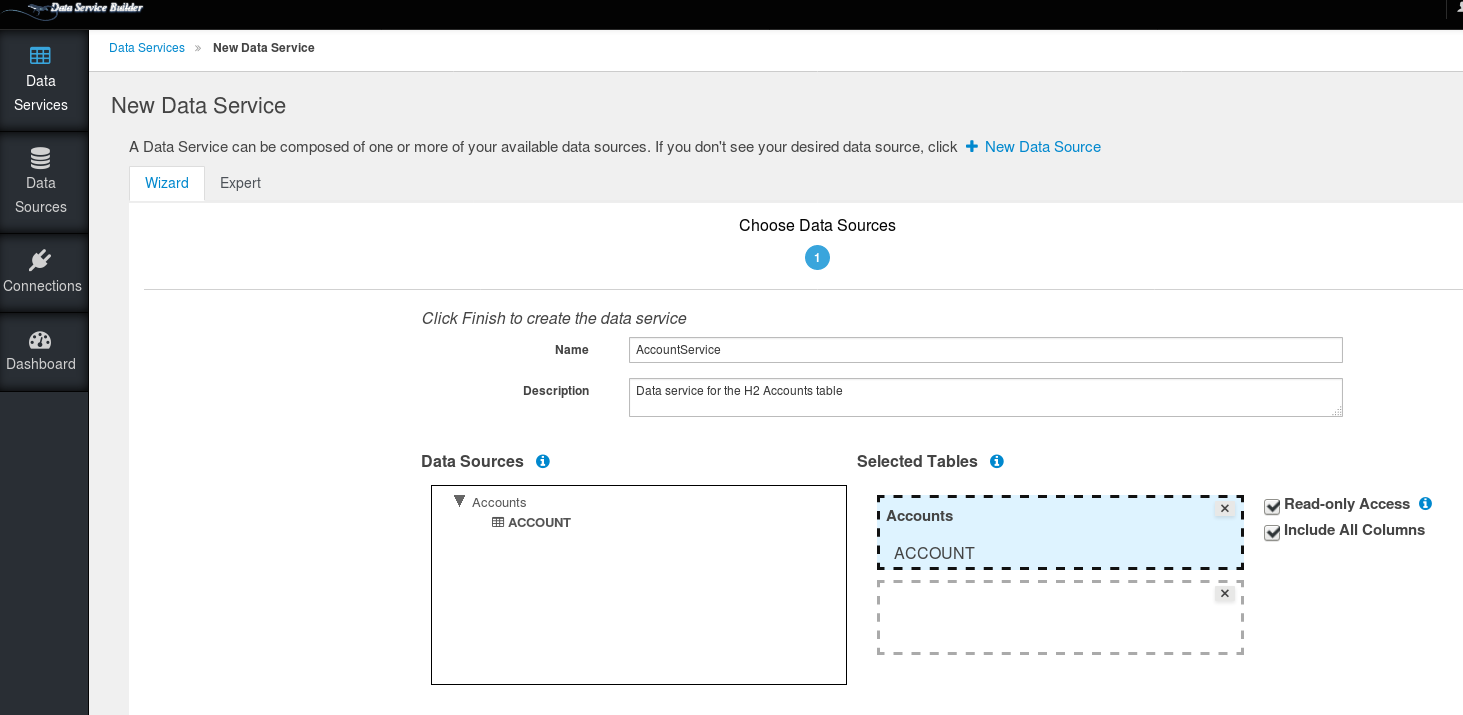
- Click on Data Services on the left navigation menu. To create your first Data Service, click on the New Data Service button.
- Enter a Name for your Data Service (i.e. AccountService). You can optionally add a description.
- Expand the Data Sources, then select a table - for example Accounts.ACCOUNT. Click Finish.
- When the Data Service is created, you will be returned to the Data Services Summary page:
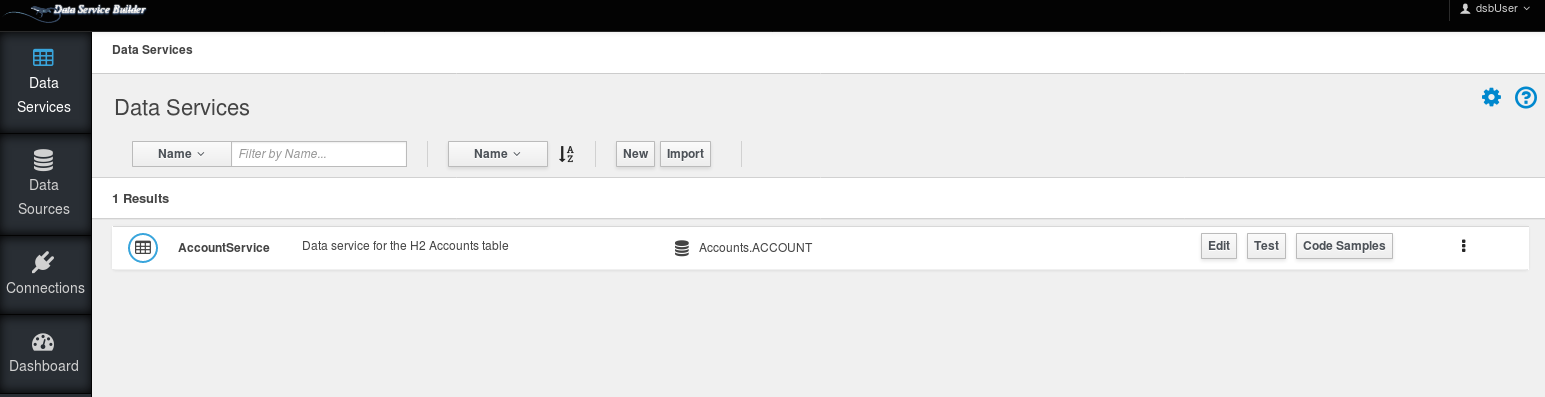
9) Test the data service
- Finally, you are ready to test your new Data Service.
- Click the 'Test' button on the AccountService row.
- the AccountService Data Service will be deployed and you will be transferred to the Test page.
- - On the test page, click Submit to execute your query. By default the OData tab is selected.
- You can customize and filter your query using row limit, columns, 'where' criteria and order-by options.
- Note that these criteria changes will alter the OData link. You can also copy this link for use elsewhere if you wish.
You can also click the SQL tab to execute SQL queries against the data service.

Comments