Provision Data Virtualization on OpenShift and Connect from Teiid Designer
This article will show to how to provision an instance of Data Virtualization 6.0 on OpenShift and connect to it from Teiid Designer / JBoss Developer Studio.
Prerequisites:
1. Get your free OpenShift Account
- Sign up for your free OpenShift online account here
2. Install JBoss Developer Studio with Data Virtualization tooling
- Install Developer Studio with Teiid tooling to your system. Just follow the instructions here to install JBoss Developer Studio.
Provision a Data Virtualization instance on OpenShift
After you have signed up for your OpenShift account, you are ready to deploy a Data Virtualization instance. Go to the article Provision Data Virtualization on OpenShift . The article shows you how to deploy the Data Virtualization cartridge.
Add a server in JBoss Developer Studio
Next, we will add the server in Dev Studio that will allow us to connect to the OpenShift instance. This currently requires that you have a DataVirtualization 6.0 instance installed on your local system, so you will need to install that first. Then, start your Dev Studio instance. To add the server:
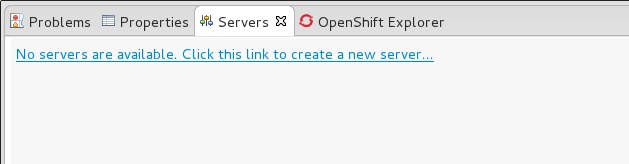
1. Go to the Servers View in JBDS. Click on the link to create a new Server
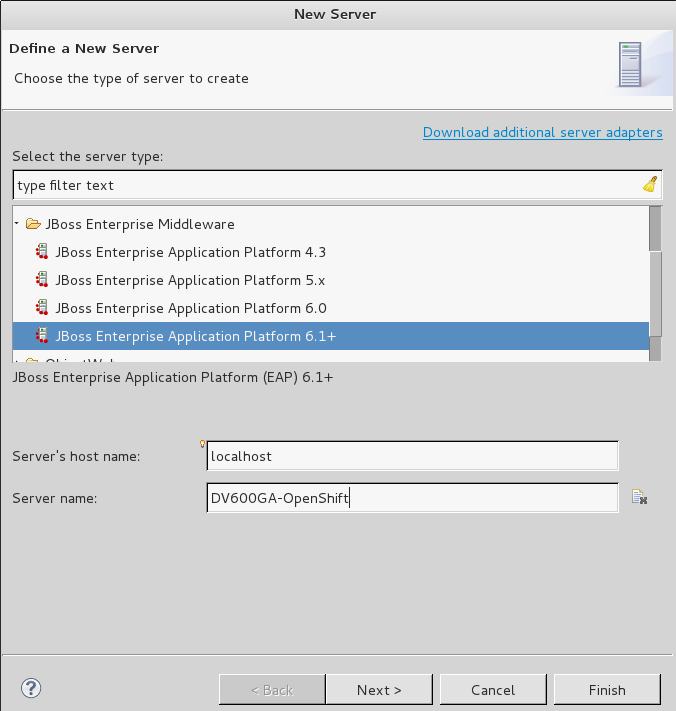
2. The first page of the wizard is show below. Select JBoss EAP 6.1+ for the server type. Leave the host name as localhost, and enter DV600GA-OpenShift for the server name. Click Next.
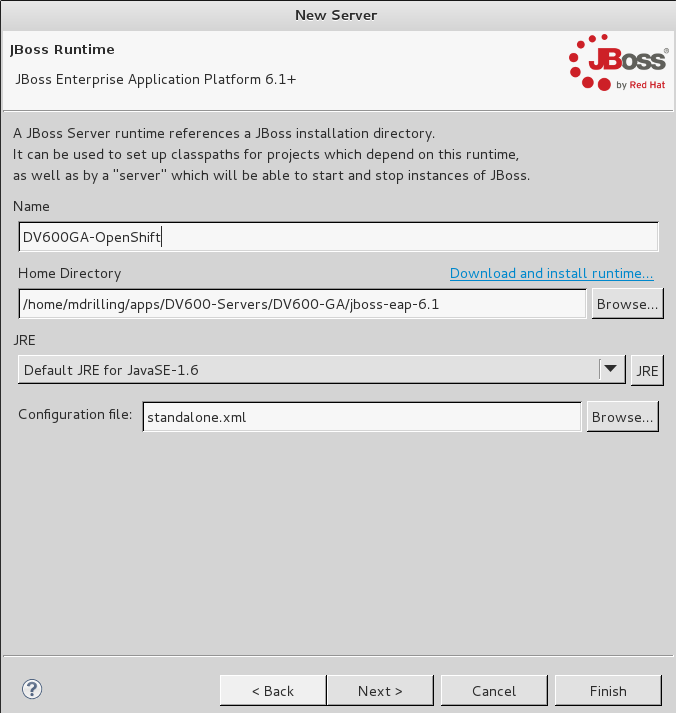
3. The second page of the wizard is show below. For Home Directory, choose your local DV600 installation directory. Click Next.
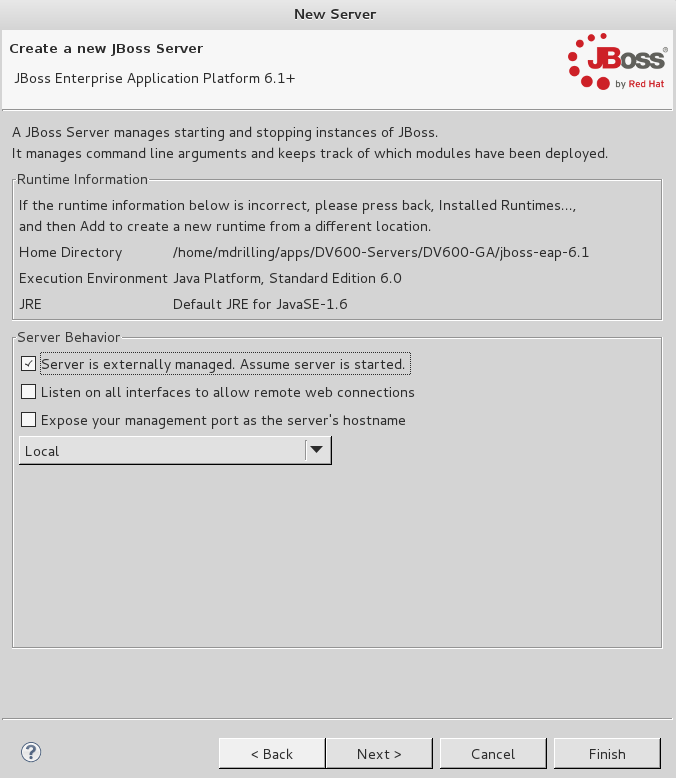
4. The third page of the wizard is shown below. In the Server Behavior section, check the "Server is externally managed..." checkbox. Click Finish.
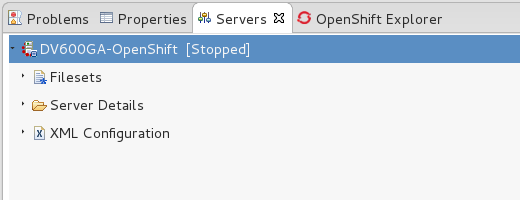
5. You now have a server definition for your OpenShift instance:
Port Forward the OpenShift Data Virtualization instance
In order to connect to the remote OpenShift instance, you must first 'port forward' the remote ports to your local system.
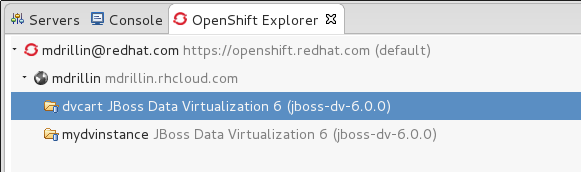
- In JBDS, open the OpenShift Explorer view and add a connection to your OpenShift account. To open the OpenShift Explorer view, go to menu Window > Show View > Other... . In the Show View dialog, select JBoss Tools > OpenShift Explorer to open the view - shown below:
- To port forward, select the application then Rt-Click > Port Forwarding... . You will see the following dialog:
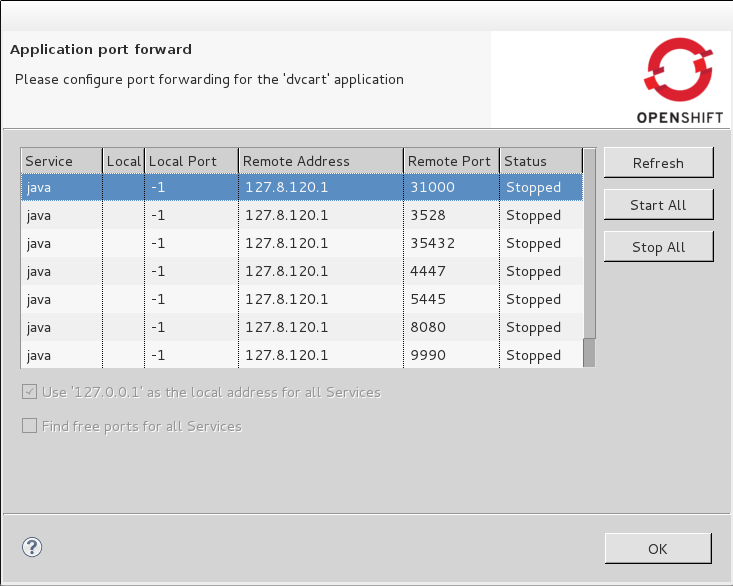
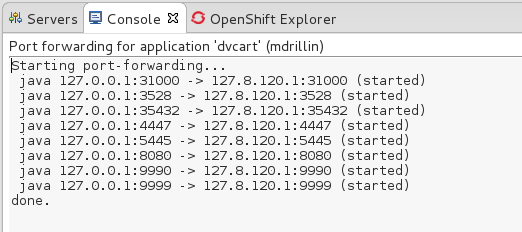
- On the Application Port Forward dialog, click the Start All button. Then click OK to dismiss the dialog. The console view will show that the ports have started:
Connect to the OpenShift Data Virtualization instance
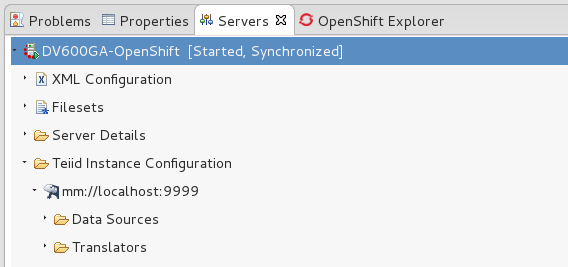
Now you are ready to connect to the Data Virtualization instance on OpenShift. Go back to the Server View in JBoss Developer Studio. Click on the Server and then 'Start'. Notice the 'server starting' messages - in a short time the Server's Teiid Instance Configuration will be fully populated.
Conclusion
This article has demonstrated how you can provision a Data Virtualization instance on OpenShift, and connect to it from JBoss Developer Studio / Teiid Designer. Please stay tuned for future improvements!
Comments