Connect to a Flat File using Teiid
This article will guide you through an example of connecting to a flat file as a relational source, using Teiid Designer. It is assumed that you have already installed Teiid Designer version 7.6 or higher. This article is part of a complete demo, but can be used as a stand-alone demo for connecting to and testing your flat file sources.
- Download the attachment (ClimateZones.txt.zip) to your file system.
- Extract the attachment file ClimateZones.txt to your file system. For this example we'll use /home/mdrillin/TeiidDemo
- Start your local teiid server instance
- Teiid Designer requires a running teiid server for Data Preview. We will use the Data Preview capability to test our flat file source.
- In Teiid Designer, import the flat file to create models
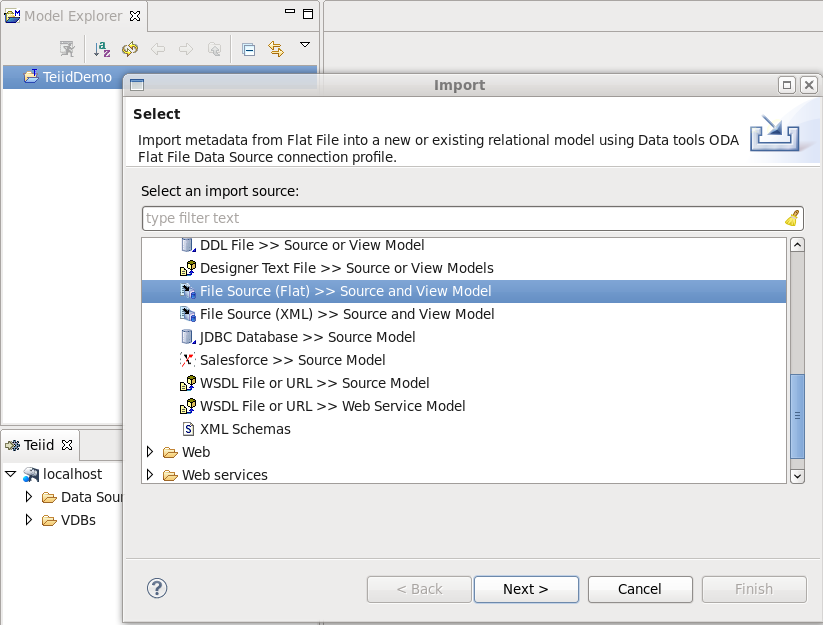
- Select File > Import... > File Source (Flat) >> Source and View Model , then click Next
- On the 'Data File Source Selection' page, click 'New...' under Data File Source to create a new connection profile. On the New Connection Profile page, enter 'ClimateZoneFile' for the Name, then click Next.

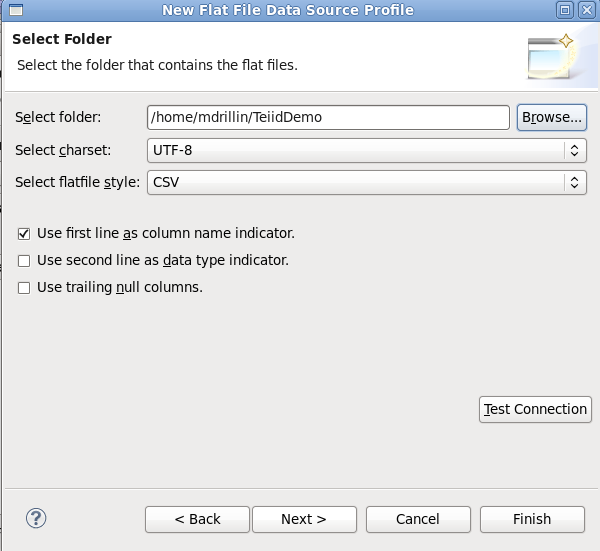
- On the Select Folder page of the Connection Profile Wizard, click Browse... then select the folder location where you previously extacted the file, as shown below. The charset, style and checkbox selections should be as shown below. Click on the 'Test Connection' button to verify a successful connection. Click Next.
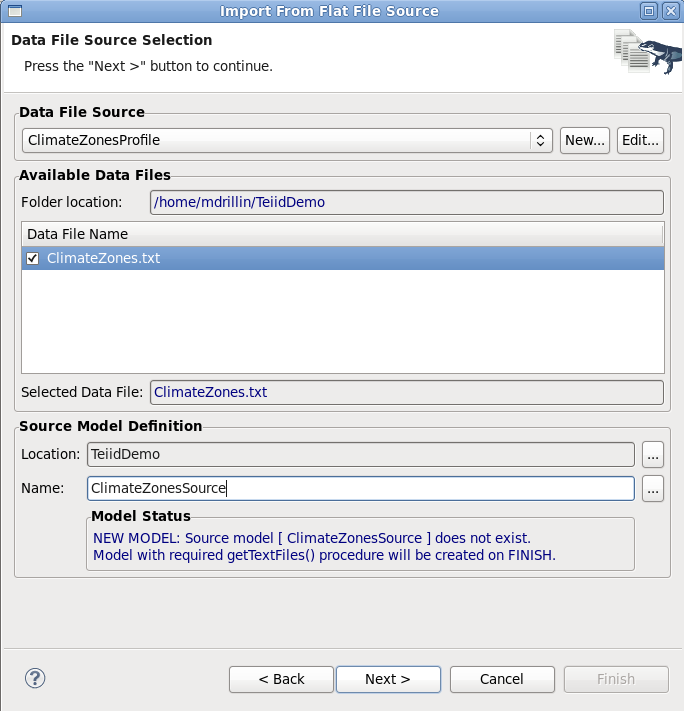
- Click Finish on the Connection Profile wizards summary page. Then back on the 'Data File Source Selection' page, the Folder location will be displayed, along the Files within it, as shown below. Put a check next to the 'ClimateZones.txt' file. Under Source Model Definition, type 'ClimateZonesSource' for the Name: click Next
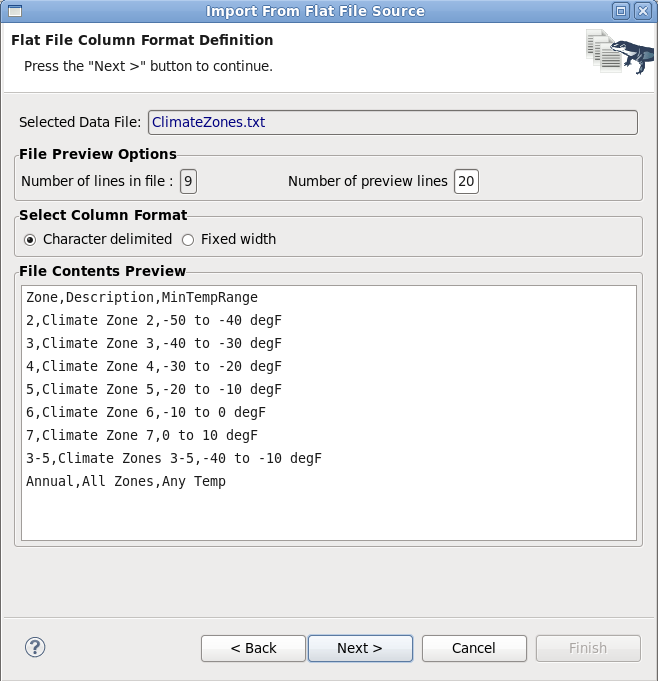
- On the 'Flat File Column Format Definition' page you are now presented with a File Contents Preview of the selected 'ClimateZones.txt' file. This is a comma delimited file, so select 'Character delimited' radio button. Click Next
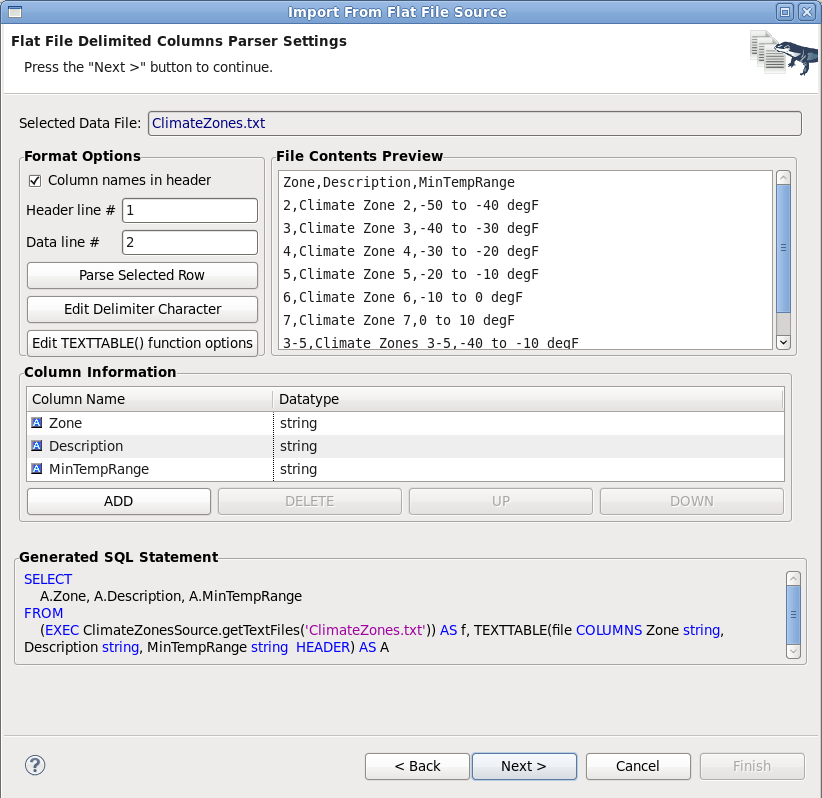
- On the 'Flat File Delimited Columns Parser Settings' page, you will again be presented with a File Contents Preview, along with the format options. Keep the defaults, 'Column names in header'=checked, Header line # = 1, Data line # = 2. Click Next.
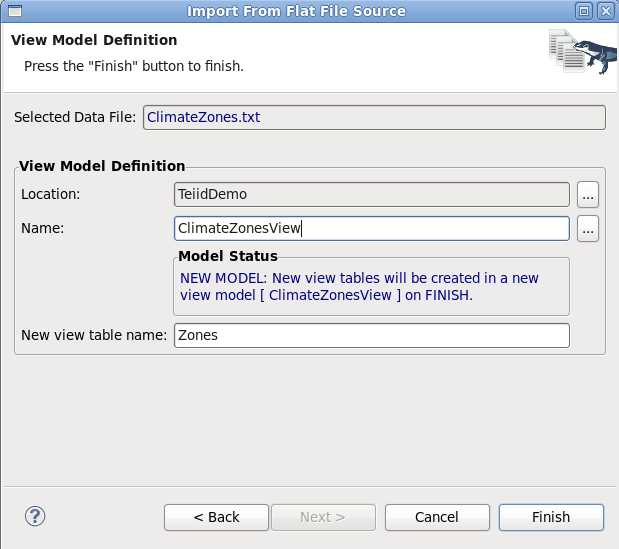
- Finally on the 'View Model Definition' page, you will enter the name of the View Model and table that you'd like to place over the source. For 'Name', type 'ClimateZonesView'. Under 'New view table name' change the 'New view table name' to 'Zones' Click Finish
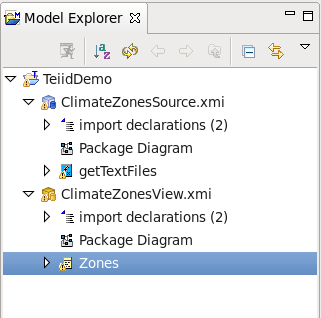
- Upon finish, you will see two additional Models in the 'Model Explorer' view, 'ClimateZonesSource' and 'ClimateZonesView'. The source model contains a single 'getTextFiles' function, which retrieves the contents of the selected text file. The 'ClimateZonesView' model contains a single table 'Zones', which exposes the raw file as a relational table.
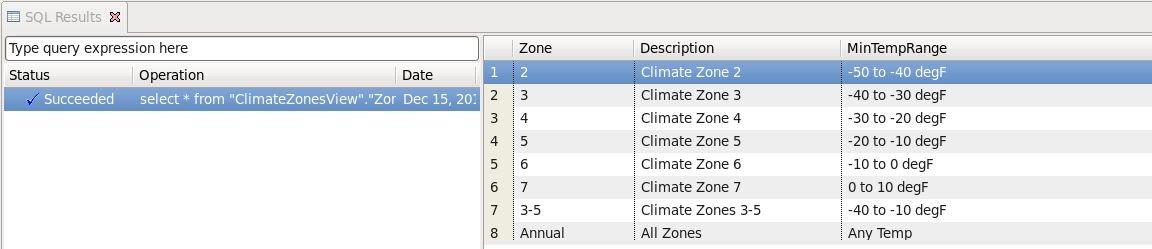
- To test the Zones table, click on it in Model Explorer, then click on the 'running man' icon. You should get a result table of Zone data as shown below
- Congratulations, you have successfully connected to your flat file source!
Comments