JAX-RS (JSR-311) is a new JCP specification that provides a Java API for RESTful Web Services over the HTTP protocol. Resteasy is a portable implementation of this specification which ships with EAP 5 and is supported by JBoss/Red Hat by subscription. This wiki is not meant to explain JAX-RS or RESTEasy, but to provide developers with a quickstart to get going with developing RESTEasy Web Services within JBoss Developer Studio (JBDS). For additional details about RESTEasy, please see the RESTEasy Reference Guide.
(A good portion of this Wiki page was copied and modified from here - many thanks to Gary Lamperillo.)
From JBDS you have access to a sample RestEasy web project to get you started.
First you have to decide whether you want to use m2eclipse (Eclipse/Maven integration) to resolve the RESTEasy dependencies in the sample project or manipulate the sample project's build path yourself. Both options are straightforward, but installing m2eclipse is the simpler path for getting the project up and running quickly.
To install m2eclipse:
- In the main Eclipse menu, select Help -> Install New Software. This brings up the "Install" dialog.
- Click "Add" to add a new update site to the list. Type "m2eclipse" as the Name and "http://m2eclipse.sonatype.org/update-dev/" as the Location. Click OK.
- When the list of available software for install appears, click the box beside "Maven Integration" and click "Finish." Follow the remaining steps as prompted to ensure the software is installed properly.
To create the example project in your workspace:
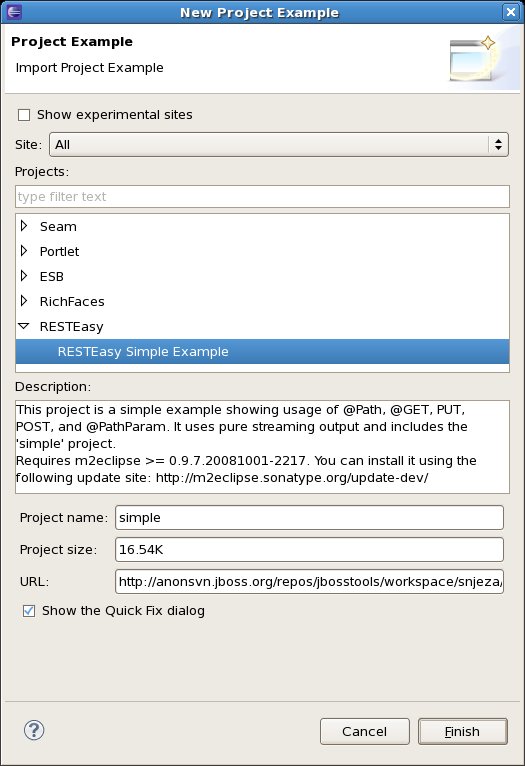
In the Eclipse main menu, select Help -> Project Examples. This brings up the "New Project Examples" dialog, which provides many different sample projects.

In the "New Project Examples" dialog, scroll to find "RESTEasy" and select the "RESTEasy Simple Example." Click "Finish" to continue.
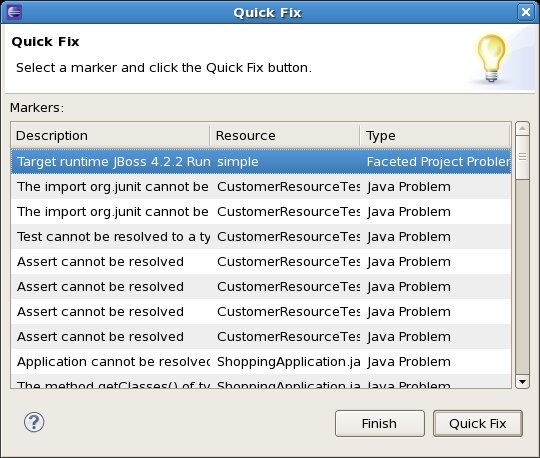
The "Quick Fix" dialog appears, presenting a long list of things that need to be addressed to make the example work in your environment. Don't panic. We're going to fix one thing here and then the rest will be taken care of later in this process. (Note that if you use m2eclipse, you'll only see the Target runtime issue and have to fix that before you're up and running.
The first "fix" in the list is for the target runtime. Select it and click "Quick Fix."

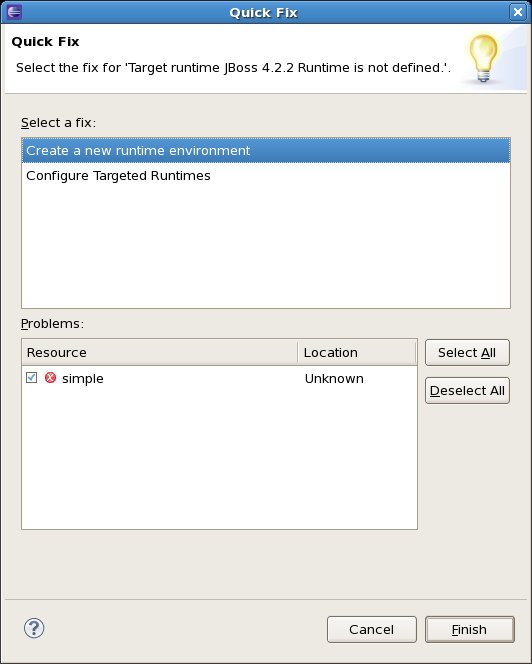
This brings up the "Quick Fix" dialog. The target runtime the project is expecting doesn't exist in your environment, but we're going to point it to an EAP 5.0 or SOA-P 5.0 instance.

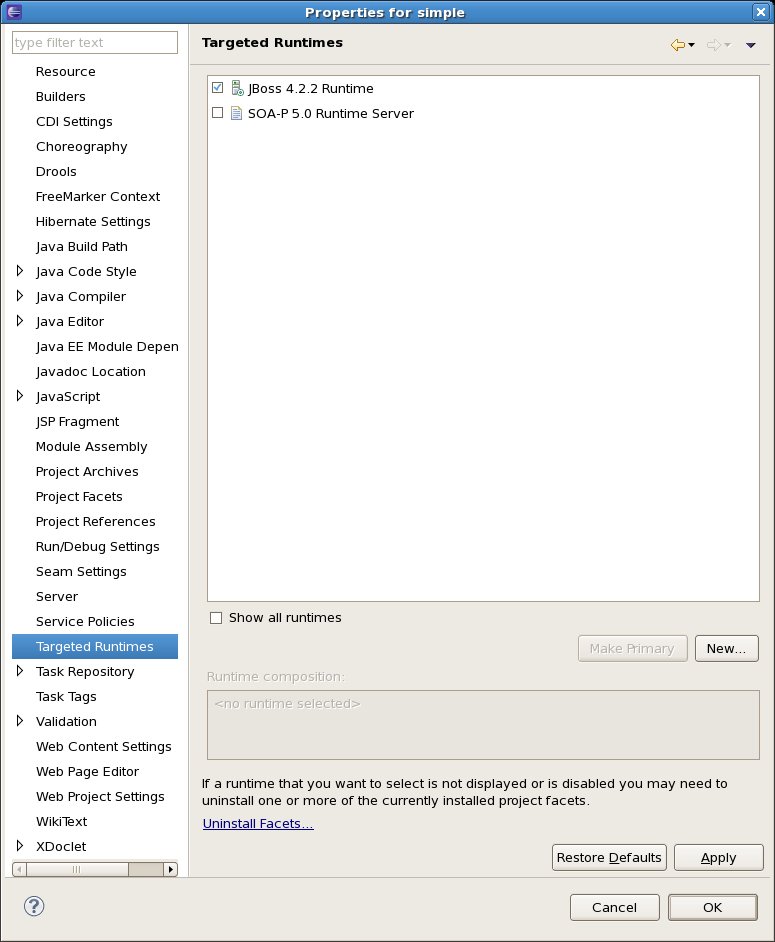
If you already have a Targeted Runtime configured in your environment, you can select "Configure Targeted Runtimes" and click "Finish." This brings up the Properties dialog for the project. Select "Targeted Runtimes" and then check the box beside the runtime you've already created in the list. Click "OK" to close the dialog and move on.

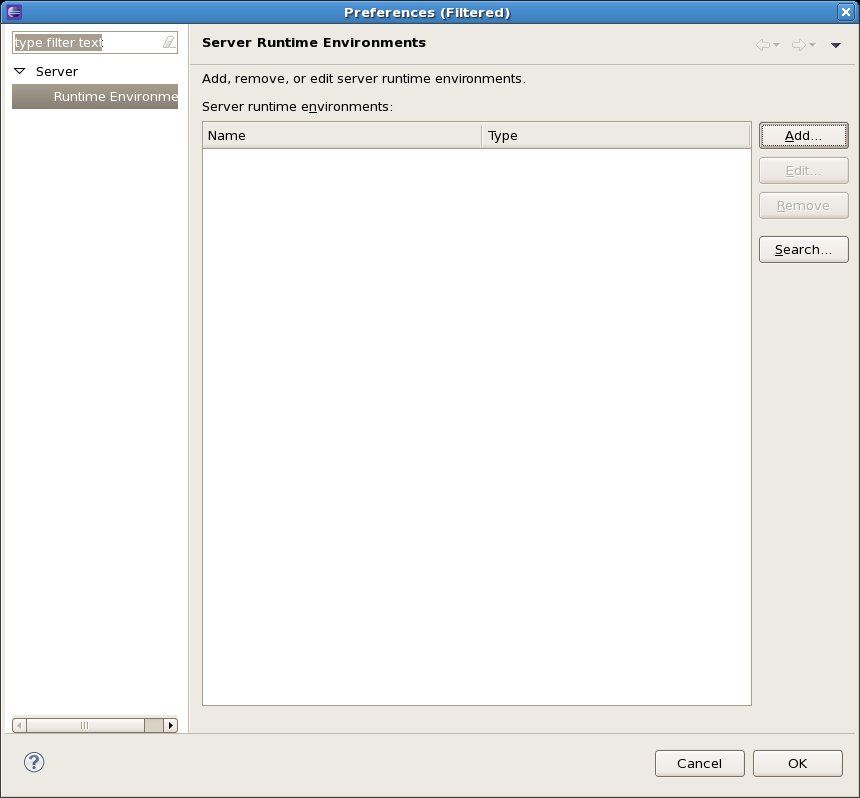
If you don't already have a Targeted Runtime configured, you can select "Create a new runtime environment" and click "Finish." This brings up a preferences dialog where you can configure a new Runtime Environment. Click "Add."

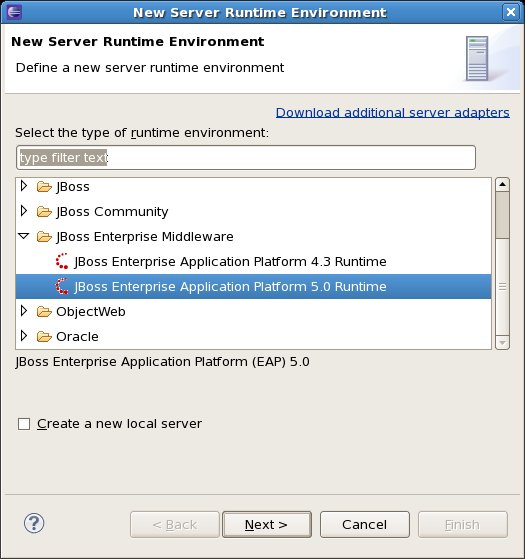
This brings up the "New Server Runtime Environment" dialog. Select "JBoss Enterprise Middleware -> JBoss Enterprise Application Platform 5.0 Runtime." This is the same type you can use for both SOA-P 5.0 and EAP 5.0. Click "Next."

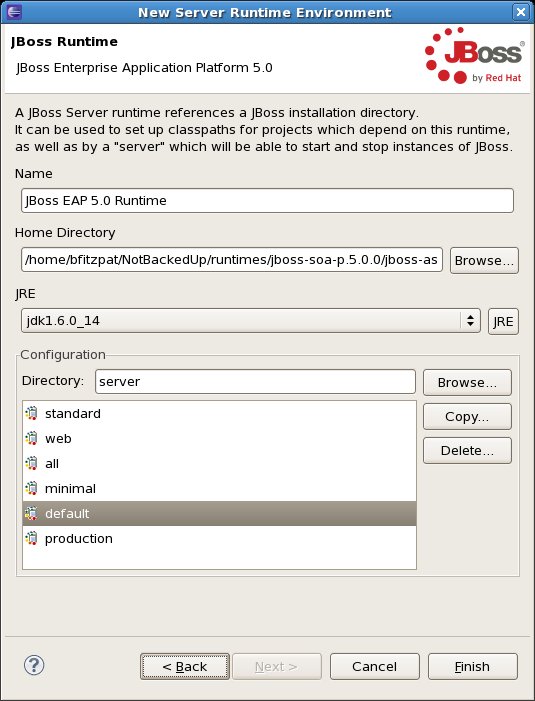
Now you can give your new runtime a name (or go with the default) and select the Configuration Directory and server type. Just go with the defaults for now. Click "Finish" to return to the preferences dialog where you should see your new runtime in the list. Click "OK" to continue.

Note: If you get back to the Quick Fix dialog and the Target runtime issue still exists after creating a new runtime in your environment, follow the steps from (a) above to resolve the problem.
Now there are still issues in your "Quick Fix" list, but we'll resolve those in just a moment. Go ahead and click "Finish" to move on.
At this point, you have two options. If you installed m2eclipse, it should have already resolved the missing dependencies using Maven when the project was downloaded into your workspace. (You should be done with getting the project working now.) Skip ahead to step 10.
If not, you can modify the build path for your project with a three steps (7, 8, and 9) to resolve the dependencies via your local runtime. The benefit of defining and adding Build Path libraries to the project is that you will be able to reuse these libraries for other RESTEasy web service projects.
First, you have to add the JUnit 4 library to the project build path.
Right-click on the project. Select Build Path -> Configure Build Path in the popup menu.

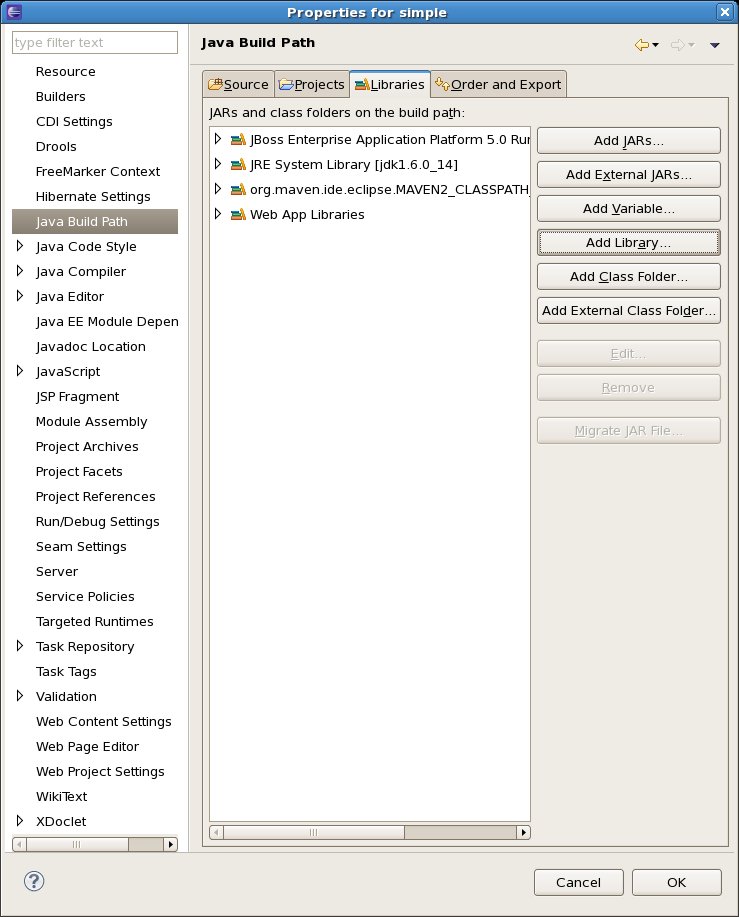
On the property page that appears, click "Add Library."

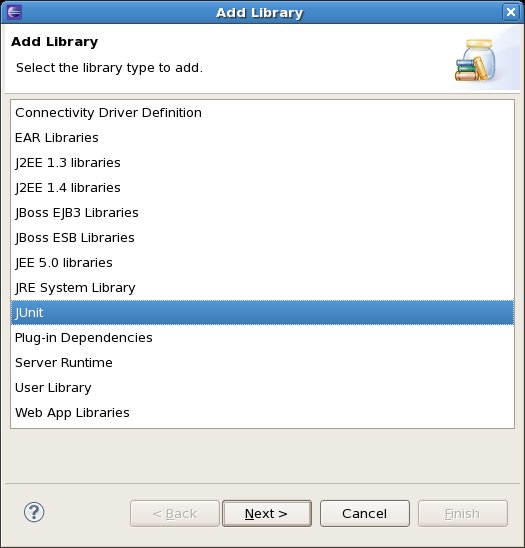
In the "Add Library" wizard dialog that appears, select "JUnit". Click "Next".
Specify JUnit 4 as the version and click "Finish".

Back on the property page, click OK.
Next, you need to add the RESTEasy libraries to the build path.
Right-click on the project. Select Build Path -> Configure Build Path in the popup menu.
On the property page that appears, click "Add Library."

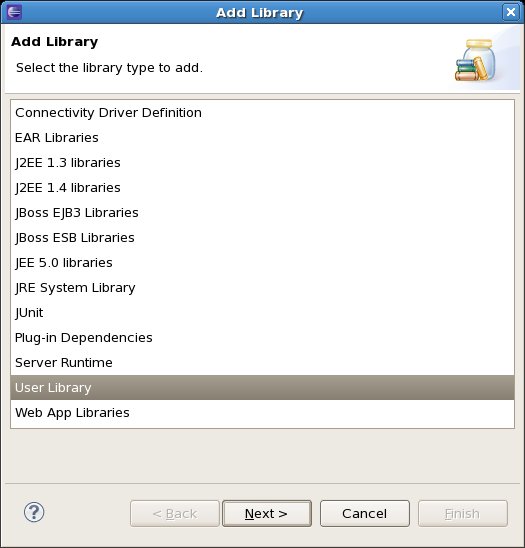
In the "Add Library" wizard dialog that appears, select "User Library". Click "Next".

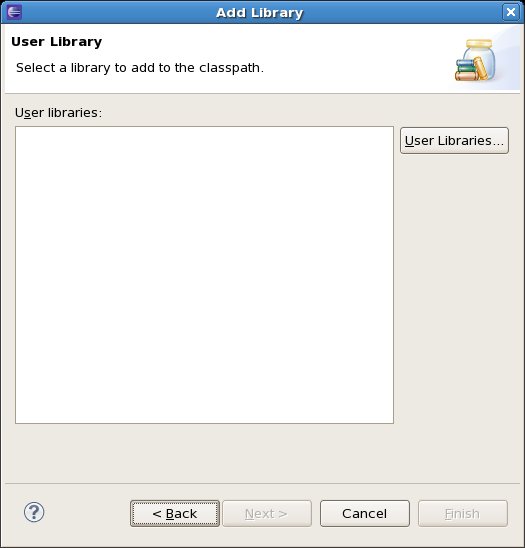
On the "User Library" page of the wizard, click the "User Libraries..." button.

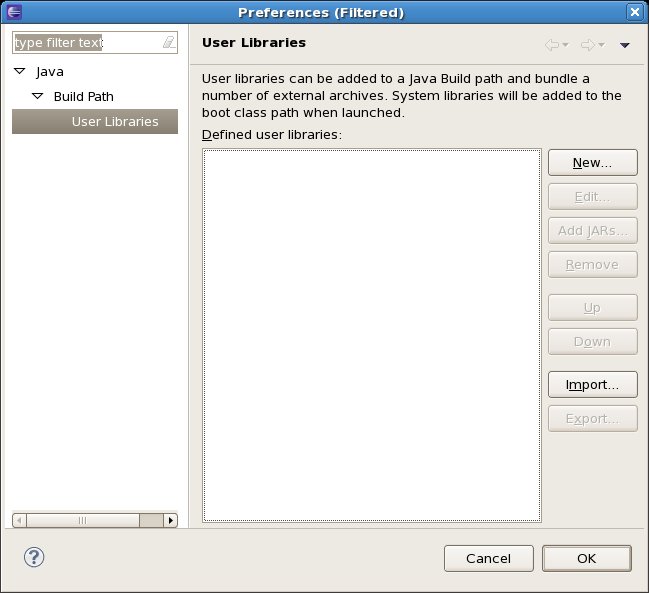
On the User Libraries Preferences page that appears, click "New."
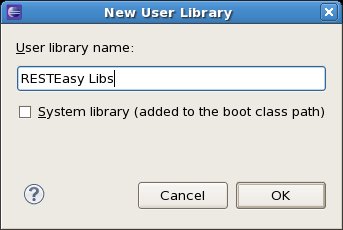
Give it a name like "RESTEasy Libs" and click "OK."

Back on the User Libraries Preferences page, with your library selected, click "Add JARs..."
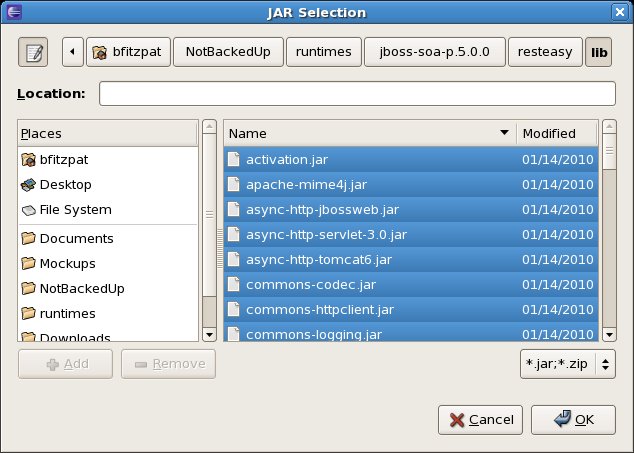
Navigate in the JAR Selection dialog to find your EAP 5 or SOA-P 5 runtime directory and locate the "resteasy/lib" directory beneath it. Select the following jars:
jaxrs-api.jar
jyaml.jar
resteasy-atom-provider.jar
resteasy-jaxb-provider.jar
resteasy-jaxrs.jar
resteasy-multipart-provider.jar
resteasy-yaml-provider.jar
scannotation.jar

Click "OK".
Back on the "Add Library" wizard page click "Finish".
Back on the property page, click OK.
Lastly, you need to make sure your JUnit and RESTEasy Libs jars are added to the deployment package.
Right-click on the project. Select "Properties" in the popup menu.
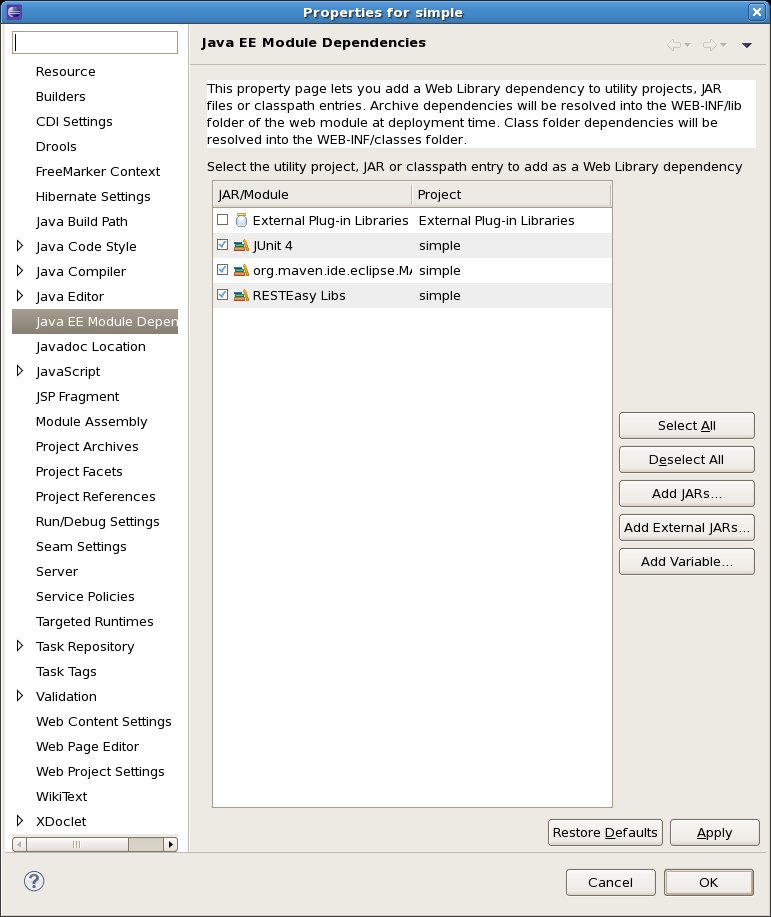
Find and select "Java EE Module Dependencies" in the list on the left of the Properties dialog.
Look for "JUnit 4" and check the box beside it.
Look for your User Library "RESTEasy Libs" and check the box beside it.

Click Apply and then OK or just OK. The JUnit 4 and RESTEasy libraries will now be deployed in the WEB-INF/lib folder automatically at deploy time.
At this point you should be able to Clean the example project and add it to the Server.

To test the sample project, we'll need a REST client to test with. We have found the RESTClient plugin for Firefox (which comes from the Google Chrome Project) to be very useful. Download and install the plugin to perform the tests.
Let's give the Simple Shopping Application a Customer Record. Copy the following without spaces and CR/LF (to avoid xerces exceptions at the server) to the Request Body Section of the RESTClient:
<customer>
<first-name>Bill</first-name>
<last-name>Burke</last-name>
<street>256 Clarendon Street</street>
<city>Boston</city>
<state>MA</state><zip>02115</zip>
<country>USA</country>
</customer>
The Web.xml and the RestEasy Implementation Class are responsible for deciding what the final URL will look like and what methods are supported (again this is not a RESTEasy tutorial, go to the Reference Guide discussed for more info). The URL to use for this test case is http://localhost:8080/simple/rest-services/customers. Using this url and a Post method, we will create the first customer record with the RESTClient.
Note: You may need to add the following request header by selecting the "Add Request Header" button:
name=content-type
value=application/xml
This ensures the request content type is consumable by the service POJO.

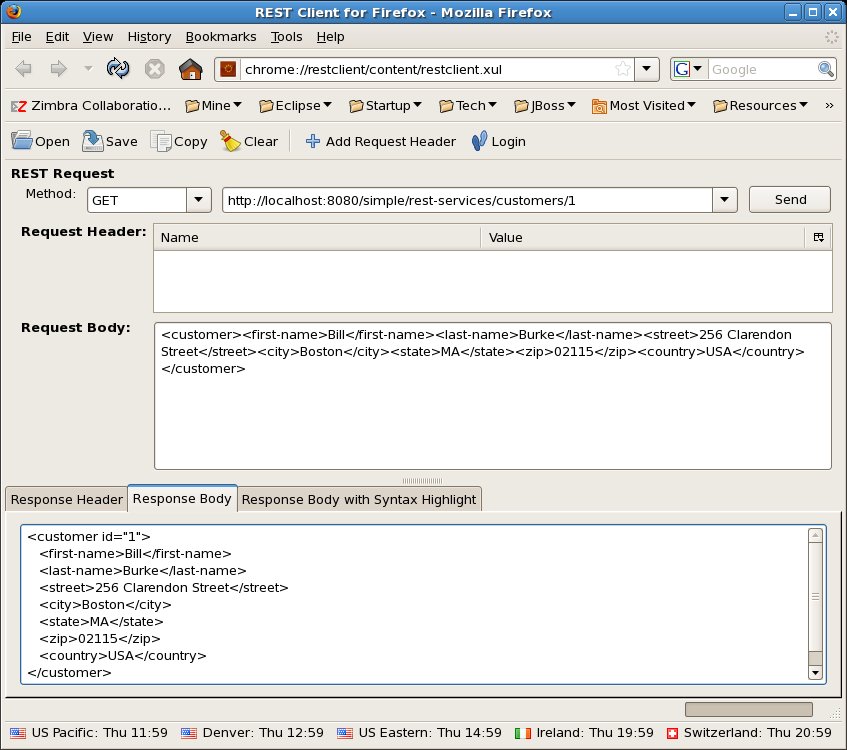
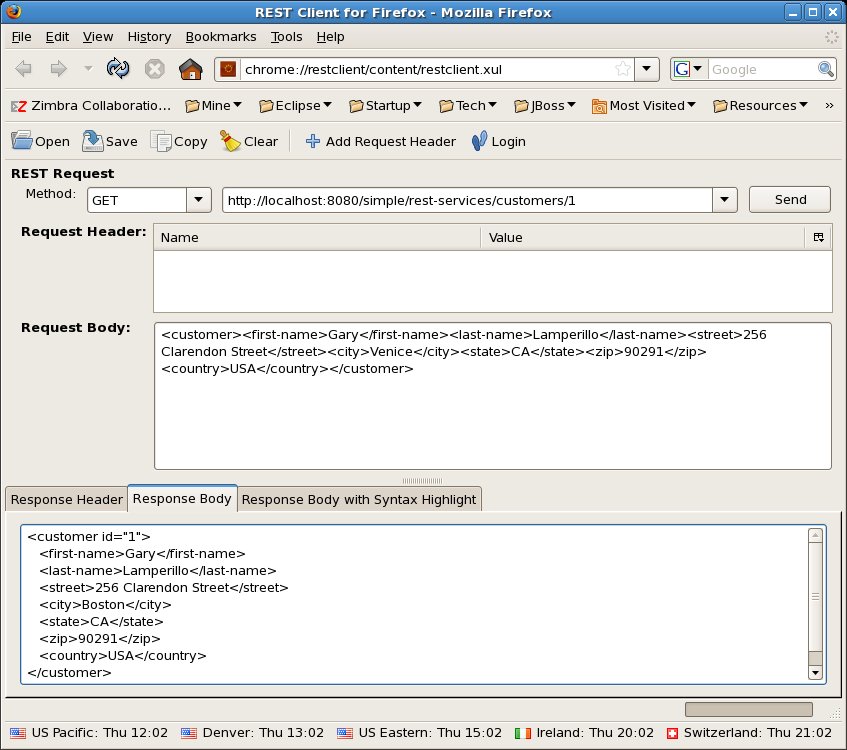
We can now use the Get Method and pass the id of 1 to get the first customer record. Click on the Response Body tab to see the same record that you previously posted to the server.

Now Let's Update the record with the Put Method, copy the following to the Request Body, change the method to Put, and click Send:
<customer>
<first-name>Gary</first-name>
<last-name>Lamperillo</last-name>
<street>256 Clarendon Street</street>
<city>Venice</city>
<state>CA</state>
<zip>90291</zip>
<country>USA</country>
</customer>

Again verify that the Record has changed with a Get Method call on the Customer Record ID 1.


You have just completed a RESTEasy and JBDS tutorial, now you can take a rest!
Comments