jBPM 4 Graphical Designer
Currently building the jBPM 4 GPD is not yet fully automated. I will describe the build procedure step by step.
- Download and install Eclipse. Currently we use Eclipse Classic 3.4.1 which can be downloaded here.
- Install the Eclipse Graphical Editing Framework (GEF). The easiest way to do this is to use the Eclipse Software Update mechanism and go to the Ganymede update site as illustrated below.

- The build is currently done with the help of the pluginbuilder plugin. This may change in the future. The homepage of this project is here. Install the plugin in your Eclipse using the pluginbuilder update site: http://self-3-4.pluginbuilder.org/nightly/p2-updateSite. You will only need to check the Pluginbuilder plugin.

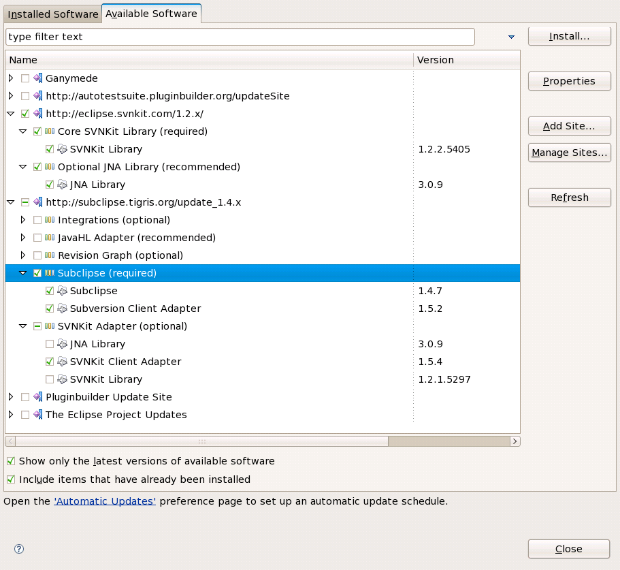
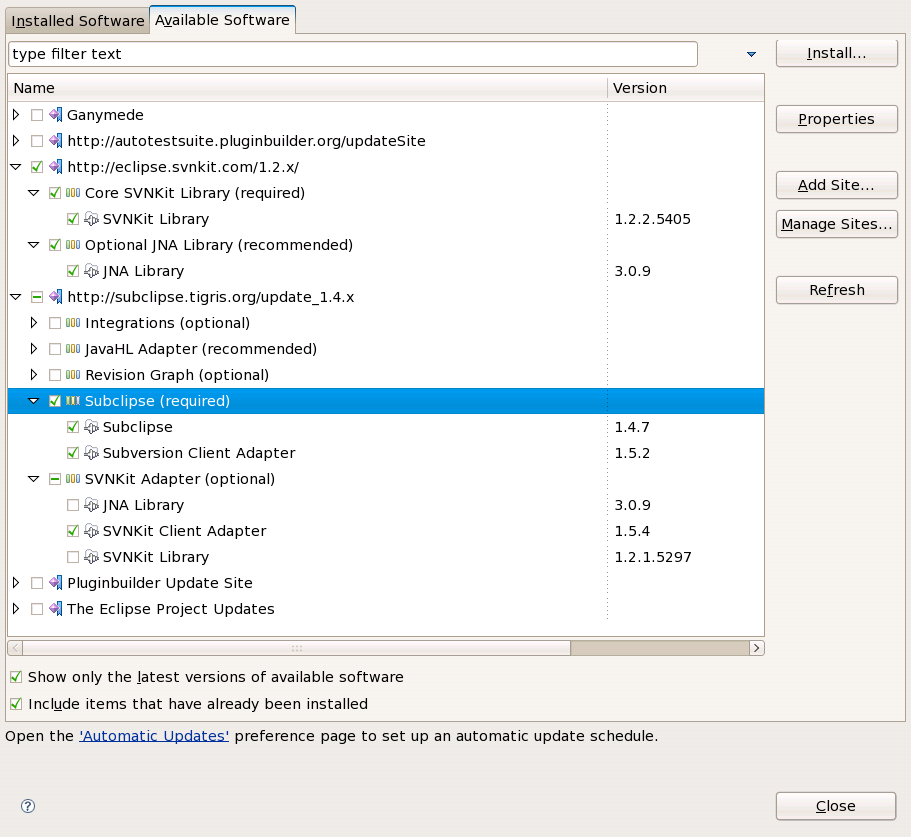
- To check out the sources from svn, you will need the Subclipse SVN plugins. The homepage of Subclipse is here. You can install the plugins by using the Subclipse update site: http://subclipse.tigris.org/update_1.4.x. Adding this will automatically adding the http://eclipse.svnkit.com/1.2.x update site. You need to check the plugins as illustrated below.
- Open the SVN Repository Exploring perspective in your new Eclipse installation and add either https://svn.jboss.org/repos/jbosstools or http://anonsvn.jboss.org/repos/jbosstools as a new repository depending on whether you are a committer or not.

- Checkout the following projects in your workspace:
- flow/plugins/org.jboss.tools.flow.common
- flow/features/org.jboss.tools.flow.common.feature
- jbpm/plugins/org.jboss.tools.flow.jpdl4
- jbpm/features/org.jboss.tools.flow.jpdl4.feature
- jbpm/builders/org.jboss.tools.flow.jpdl4.builder
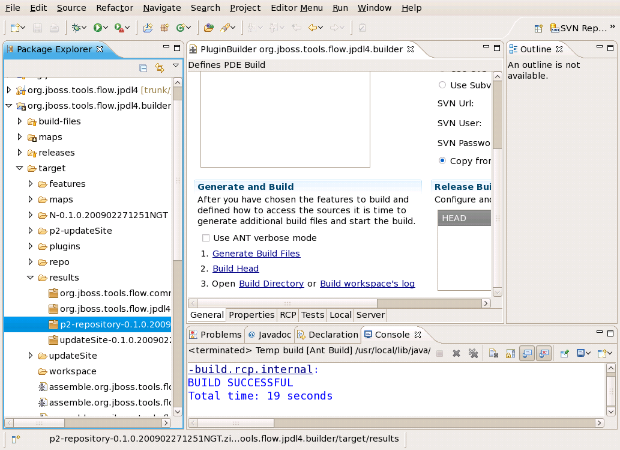
- The resulting workspace would look similar to the screenshot below.

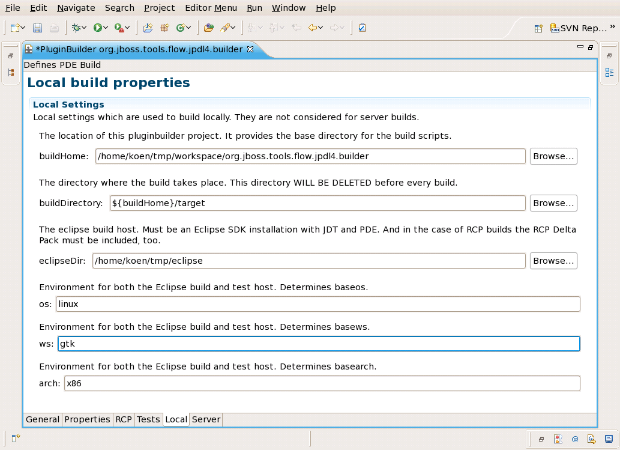
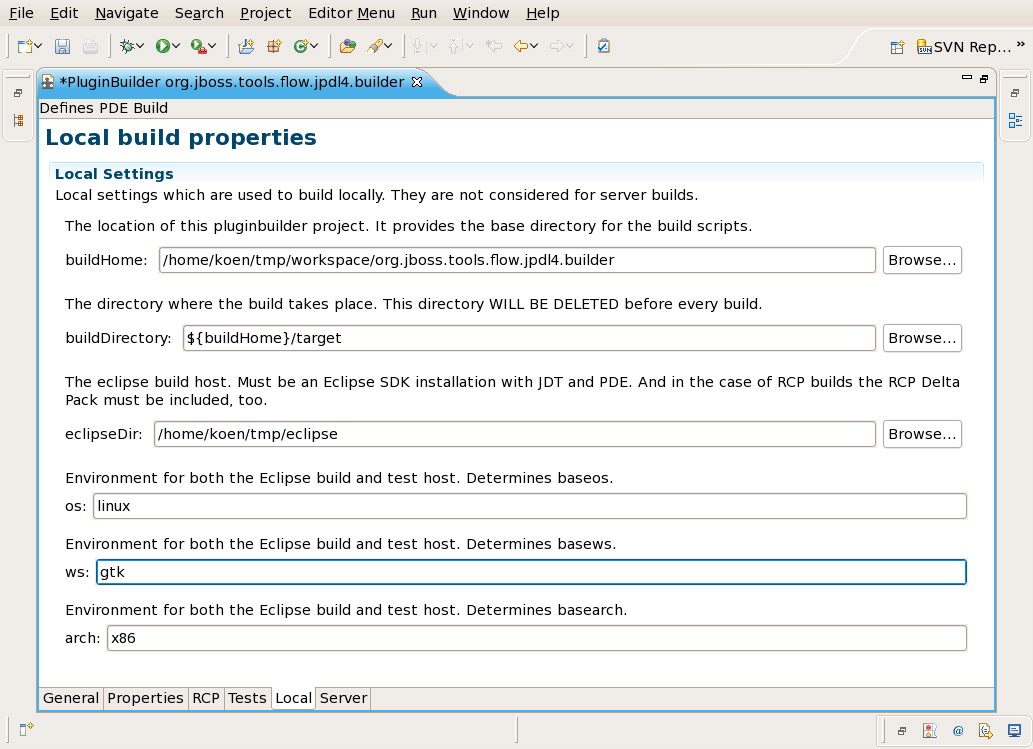
- Open the 'pluginbuilder.config' file and make sure that the settings on the 'Local' page reflect the settings of your machine.
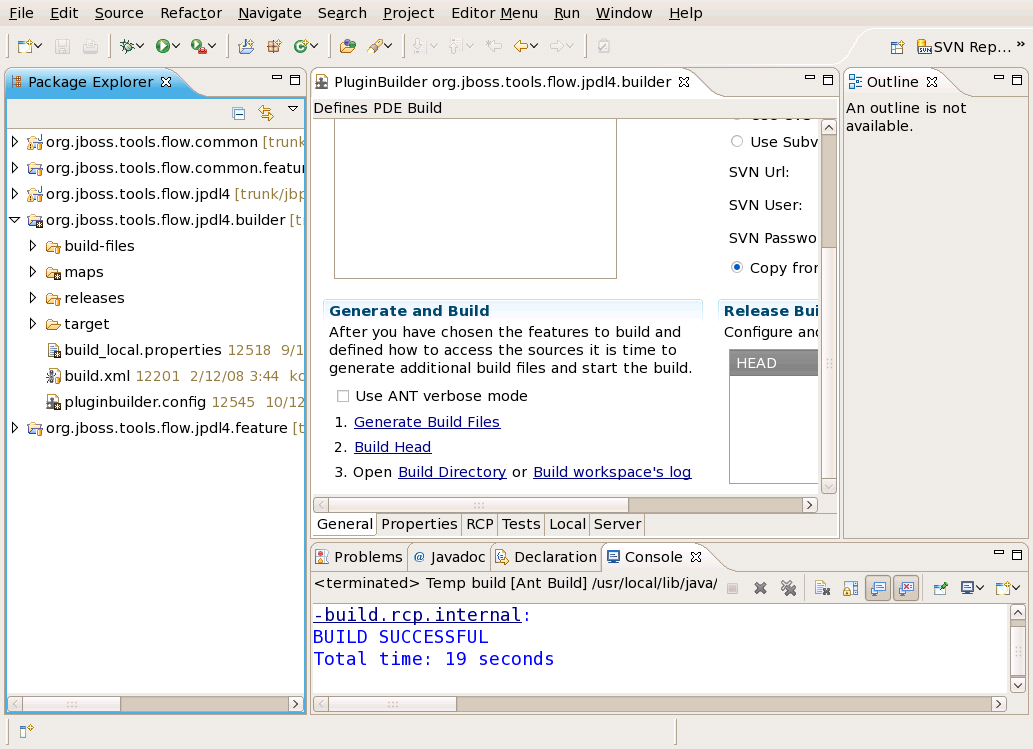
- Return to the 'General' page of the opened editor. First click the 'Generate Build Files' and then the 'Build Head' hyperlinks.

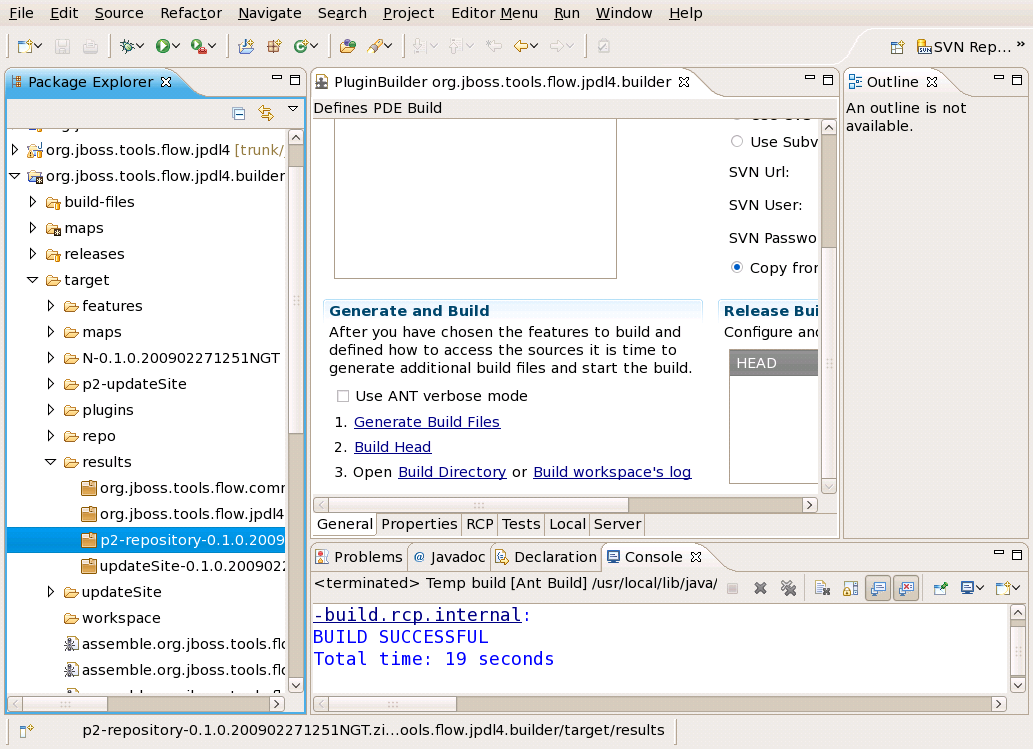
- The results of the build are to be found in the 'target/results' subfolder of the builder project.
If you want the latest version of these projects use the projects in the 'trunk' subfolder, if you rather want to build the 4.0.0.Alpha2 release, use the 'tags/jbpm-jpdl-4.0.0.alph4' subfolder of the jbosstools
repository.

This process was tested both on Mac OSX and Linux.
Comments